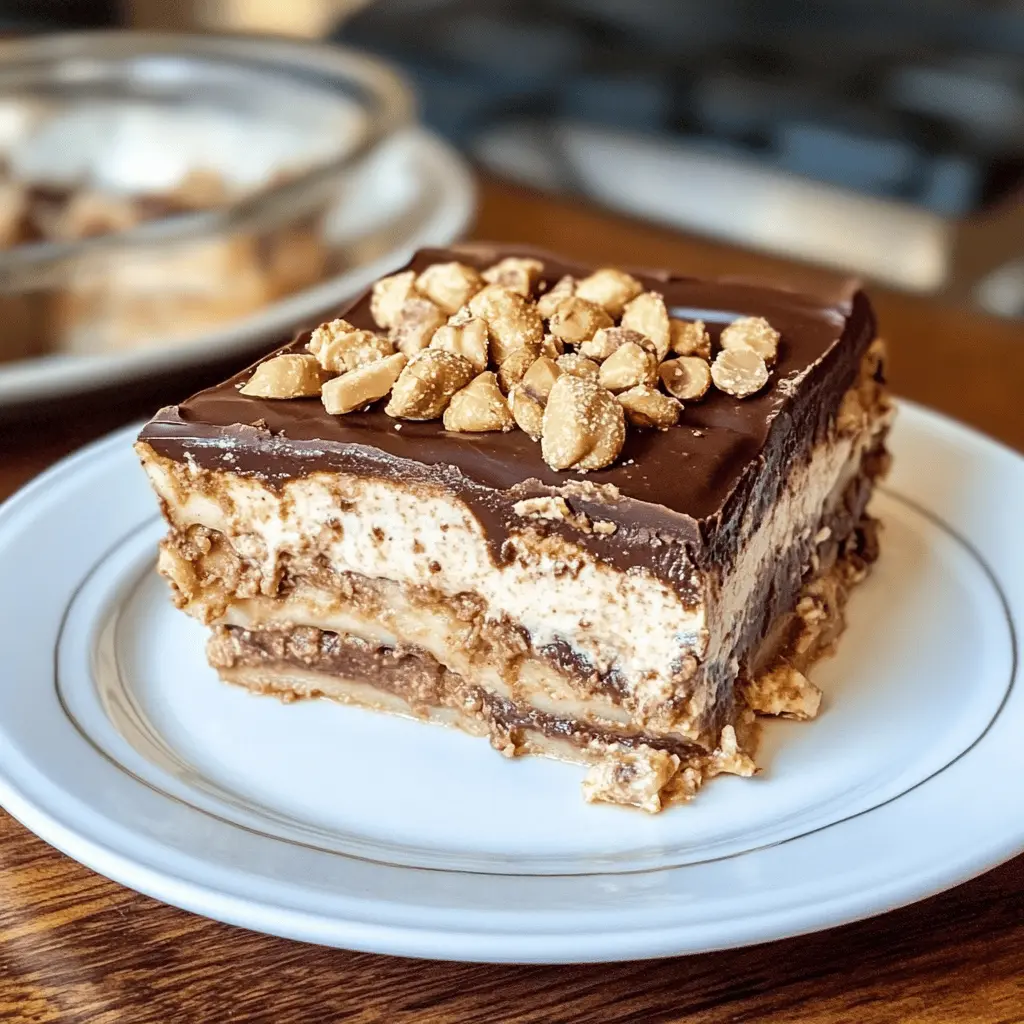
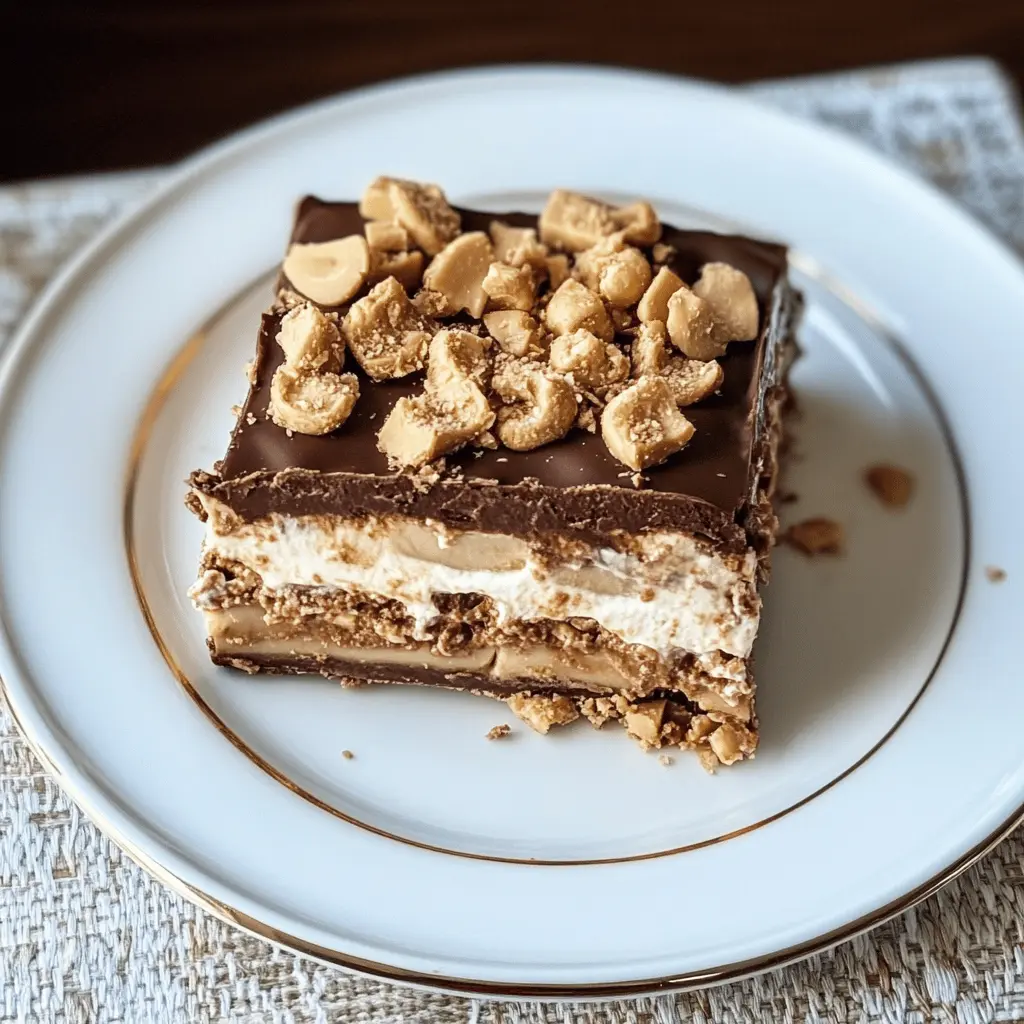
This No Bake Peanut Butter Chocolate Lasagna is a total treat! With layers of creamy peanut butter, chocolate, and crushed cookies, it’s a dessert dream come true. Yum!
Making it is a breeze since there’s no oven involved! I love serving this at parties and watching everyone happily dig in—it’s a crowd-pleaser for sure!
Key Ingredients & Substitutions
Graham Cracker Crumbs: These form the crust base for your dessert. If you’re out of graham crackers, crushed vanilla wafers or digestive biscuits work great too! I sometimes use chocolate graham crackers for a twist.
Peanut Butter: I always use creamy peanut butter for a smooth texture, but crunchy peanut butter adds a fun crunch. You can swap it with almond or cashew butter if you’re looking for a nut-free alternative!
Cream Cheese: This ingredient gives a rich texture to the peanut butter layer. If you’re aiming for a lighter option, consider using Greek yogurt or a dairy-free cream cheese for a similar effect.
Whipped Topping: Cool Whip is a winner here. For a homemade version, whip heavy cream with a bit of sugar. If dairy is an issue, coconut whipped cream is a fun, delicious substitute.
Chocolate Pudding Mix: Instant pudding is an easy way to get the chocolate flavor. You can use a homemade chocolate custard for a more gourmet option, or try a dairy-free chocolate pudding mix if you need it to be dairy-free.
How Do I Get the Perfect Layering in No Bake Desserts?
Layering is key to a well-presented no-bake dessert. Here’s how to nail it:
- Start with a firm base by pressing down the graham cracker mixture evenly, making sure it reaches the edges of the dish.
- When spreading the peanut butter mixture, use an offset spatula for smooth, even layers. Don’t rush; taking your time helps maintain the structure.
- For the pudding, pour it gently down the center of the peanut butter layer and let it naturally spread out. This minimizes mixing between layers.
- Top with whipped topping evenly, using the spatula to smooth it out nicely for a clean finish. A sprinkle of crushed graham crackers or peanuts will add charm!
Finally, chilling is essential! It allows the layers to firm up, making it easier to cut neat slices when serving.
How to Make No Bake Peanut Butter Chocolate Lasagna?
Ingredients You’ll Need:
For the Crust:
- 1 cup graham cracker crumbs
- ½ cup unsalted butter, melted
For the Peanut Butter Layer:
- 1 cup creamy peanut butter
- 1 cup powdered sugar
- 1 (8 oz) package cream cheese, softened
- 1 (8 oz) container whipped topping (like Cool Whip)
For the Chocolate Layer:
- 1 (3.9 oz) package chocolate instant pudding mix
- 2 cups milk
For the Garnish:
- ½ cup chopped peanuts (optional)
- Additional whipped topping for garnish
- Chocolate syrup for drizzling (optional)
How Much Time Will You Need?
This delightful No Bake Peanut Butter Chocolate Lasagna will take about 20 minutes to prepare and then you’ll need to let it chill in the fridge for at least 4 hours, or overnight for the best results. Just a bit of time and you’ll have a delicious dessert to enjoy!
Step-by-Step Instructions:
1. Make the Crust:
In a mixing bowl, combine the graham cracker crumbs with the melted butter. Stir them together until everything is mixed well. Next, press this mixture firmly into the bottom of a 9×13 inch baking dish to create a nice, compact crust. Set it aside while you prepare the next layer.
2. Prepare the Peanut Butter Layer:
In a large bowl, combine the creamy peanut butter and powdered sugar. Mix them together until it’s smooth. Add the softened cream cheese and continue to blend until there are no lumps left. Gently fold in the whipped topping until it’s all evenly mixed. This will give your layer a light and fluffy texture!
3. Assemble the Lasagna:
Spread the peanut butter mixture evenly over the crust in your baking dish. Make sure it covers the entire crust for a delicious bite every time!
4. Create the Chocolate Layer:
In another bowl, whisk the chocolate pudding mix together with the milk for about 2 minutes, until it thickens up nicely. Pour this creamy chocolate pudding over the peanut butter layer and spread it out evenly.
5. Finish with Toppings:
Take the additional whipped topping and spread it over the chocolate pudding layer, covering it completely. If you’d like, crush some graham crackers and sprinkle them on top, along with the chopped peanuts for an extra crunch.
6. Chill and Serve:
Cover the dish with plastic wrap and pop it in the fridge. Allow it to chill for at least 4 hours, or even better, overnight. When you’re ready to serve, drizzle some chocolate syrup on top of each piece for that extra touch of sweetness!
Enjoy your amazing No Bake Peanut Butter Chocolate Lasagna—it’s a treat that everyone will love!
Can I Use Natural Peanut Butter Instead of Creamy Peanut Butter?
Yes! You can use natural peanut butter, but be aware that it may add a bit of oiliness to the mixture. Make sure to stir the peanut butter well before measuring to incorporate the oils. This will help achieve a smooth texture in your peanut butter layer.
How Can I Make This Recipe Gluten-Free?
No problem! Simply substitute the graham cracker crumbs with gluten-free graham crackers or a gluten-free cookie crumb mixture. Ensure that the pudding mix you use is also labeled gluten-free, and you’re good to go!
Can I Prepare This Lasagna in Advance?
Absolutely! This dessert is perfect for making ahead of time. You can prepare it a day in advance and store it covered in the refrigerator. Just remember to add your chocolate syrup drizzle just before serving for the best presentation!
How Should I Store Leftovers?
Store any leftovers in an airtight container in the fridge for up to 3-4 days. If the whipped topping starts to separate, just give it a quick stir before serving to refresh it!