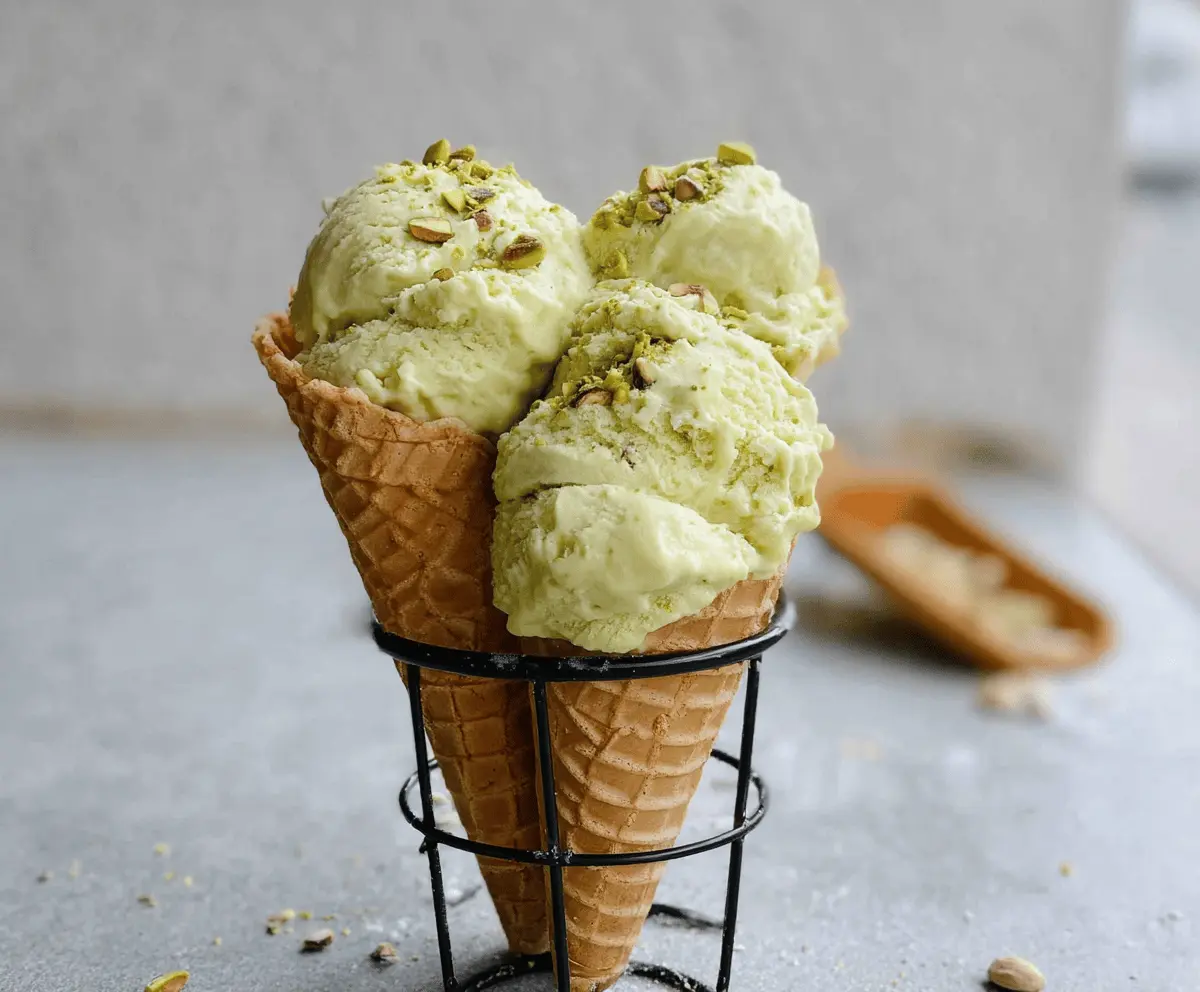
This creamy homemade pistachio ice cream is a treat that will make you feel like you’re on a sunny beach! With real pistachios blended in, it’s nutty and sweet.
Making this ice cream is easier than you think. Just blend, freeze, and enjoy! I love serving it with some extra nuts sprinkled on top—it’s the perfect cool down on hot days!
Key Ingredients & Substitutions
Pistachios: Raw shelled pistachios are ideal for a rich flavor. If you’re allergic to nuts, try sunflower seeds for a different, yet delightful take.
Granulated Sugar: Regular sugar works wonders, but for a bit of caramel flavor, consider using brown sugar. It’s a great twist!
Milk and Cream: Whole milk gives creaminess, and heavy cream really ups the richness. If you’re looking for a lighter option, you can use half-and-half or a non-dairy milk like almond milk, though the texture might change.
Egg Yolks: These add creaminess. If you want to skip them, use a cornstarch slurry (1 tablespoon cornstarch mixed with 2 tablespoons water) as a substitute for thickening.
Vanilla Extract: This adds depth, but you can replace it with almond extract for an interesting flavor boost!
How Do You Achieve a Creamy Texture in Ice Cream?
The secret to creamy ice cream lies in the custard-making process. Taking time to cook the mixture correctly helps achieve that perfect texture. Here’s how to ensure success:
- Heat your dairy gently and avoid boiling; this keeps the cream velvety.
- When tempering the eggs, add hot liquid slowly, whisking constantly. This prevents scrambling.
- Cook the combined mixture on low heat until it thickens. You can check by dipping a spoon in—if it coats the back, it’s ready.
- Cooling completely in the fridge is key! This helps incorporate air during churning, making it fluffy.
- Don’t rush the freezing process! Letting it freeze for at least 4 hours ensures it sets properly.
With these tips, you’ll create an ice cream that’s smooth and creamy, ready for you to enjoy!
How to Make Creamy Homemade Pistachio Ice Cream
Ingredients You’ll Need:
For the Ice Cream Base:
- 1 cup raw shelled pistachios
- 3/4 cup granulated sugar
- 2 cups whole milk
- 2 cups heavy cream
- 4 large egg yolks
- 1/2 teaspoon vanilla extract
- A pinch of salt
- Optional: a few drops of green food coloring (for a more vibrant color)
How Much Time Will You Need?
This delicious homemade pistachio ice cream will take about 20 minutes of active prep time, plus at least 4-8 hours for chilling and freezing. To ensure the best texture, it’s recommended to chill the mixture overnight before churning!
Step-by-Step Instructions:
1. Prepare the Pistachio Paste:
In a food processor or blender, pulse the raw pistachios together with 1/4 cup of sugar until they’re finely ground. Next, add 1/2 cup of whole milk and blend until you form a smooth paste. Set this aside for later use.
2. Heat the Milk and Cream:
In a medium-sized saucepan, combine the remaining 1 1/2 cups of milk and 2 cups of heavy cream. Heat it over medium heat, making sure it gets warm enough to just simmer, but be careful not to let it boil.
3. Whisk the Egg Yolks and Sugar:
While the milk and cream are heating, take a separate bowl and whisk together the 4 large egg yolks and the remaining 1/2 cup of sugar. You want to mix until it’s pale and slightly thickened—this will create a nice richness in your ice cream!
4. Temper the Eggs:
Now it’s time to combine! Slowly pour about a cup of the hot milk and cream mixture into the egg yolks, whisking constantly. This step is super important to prevent the eggs from scrambling!
5. Combine and Cook the Custard:
Once the egg mixture is tempered, pour it back into the saucepan with the remaining milk and cream. Cook over medium-low heat, stirring regularly with a wooden spoon or spatula until the custard thickens and coats the back of the spoon. You’re looking for a temperature of about 170-175°F (77-80°C), but remember—do not boil!
6. Incorporate the Pistachio Paste:
Remove the saucepan from heat. Now whisk in the pistachio paste until it’s fully combined with the custard. Add in your vanilla extract, pinch of salt, and if you like, a few drops of green food coloring to enhance that lovely pistachio color.
7. Chill the Mixture:
Pour the pistachio custard through a fine mesh sieve into a clean bowl to catch any lumps. Cover the bowl and refrigerate for at least 4 hours, or overnight for the best results. It’s important for the mixture to be completely chilled before churning!
8. Churn the Ice Cream:
Once chilled, pour the mixture into an ice cream maker. Churn according to the manufacturer’s instructions until it reaches a soft-serve consistency. This usually takes about 20-30 minutes.
9. Freeze Until Firm:
Transfer the churned ice cream into a freezer-safe container, seal it up, and freeze for at least 4 hours or until it’s completely firm.
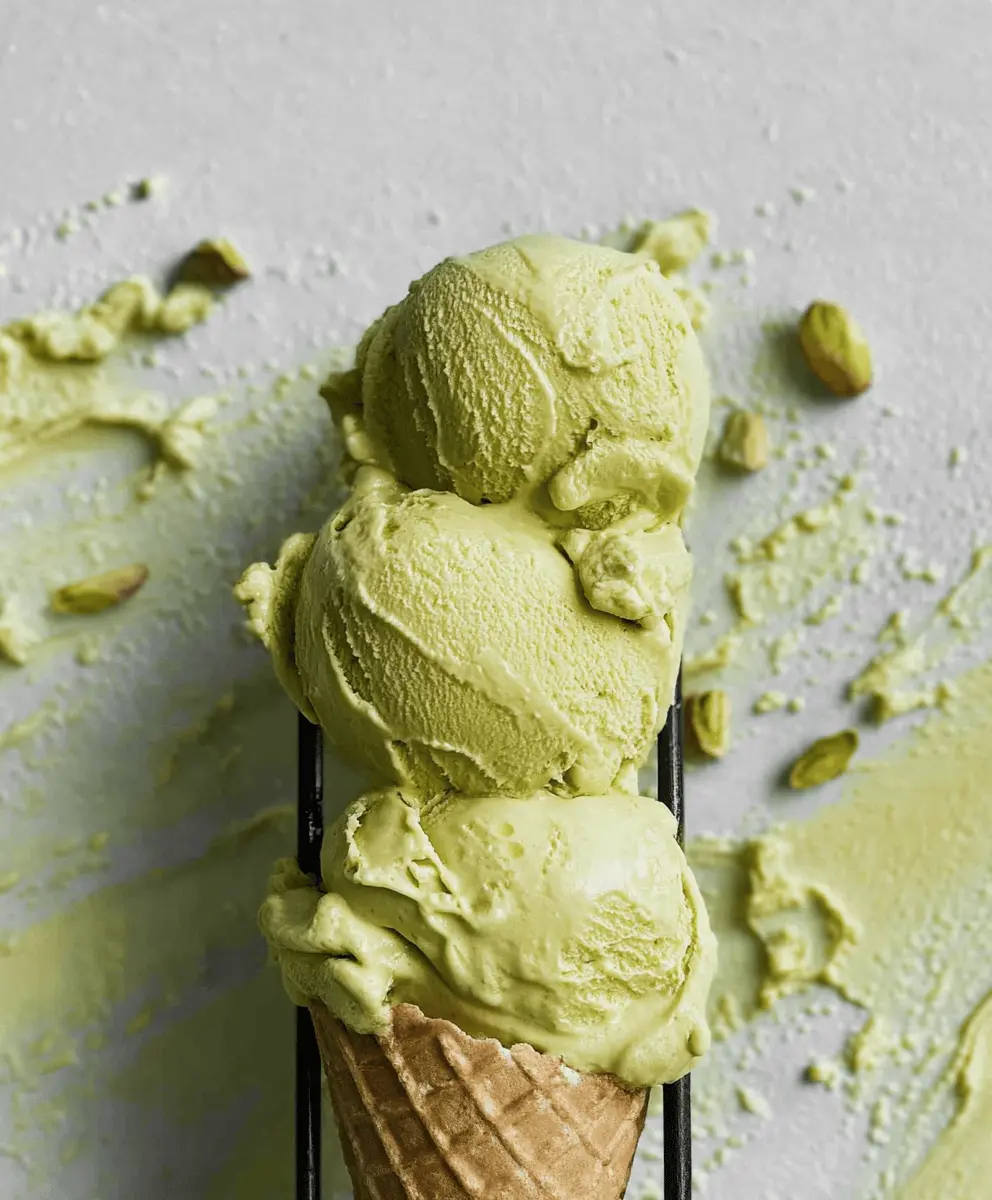
10. Serve and Enjoy!
Scoop the creamy pistachio ice cream into cones or bowls. For a special touch, you can garnish with some chopped pistachios on top for extra crunch and flavor. Enjoy your rich, nutty, and absolutely delicious homemade pistachio ice cream!
Frequently Asked Questions (FAQ)
Can I Use Different Nuts Instead of Pistachios?
Absolutely! You can substitute pistachios with other nuts like almonds or hazelnuts. Just be sure to adjust the process slightly; for larger nuts, you might want to chop them coarsely and heat them in the milk for added flavor.
How Can I Make This Ice Cream Dairy-Free?
To make it dairy-free, you can use coconut milk or almond milk in place of whole milk and heavy cream. Be sure to check the consistency; non-dairy alternatives may need a stabilizer, like a bit of cornstarch, to achieve the right creaminess!
What’s the Best Way to Store Leftover Ice Cream?
Store leftover ice cream in an airtight container in the freezer. To maintain its creamy texture, press a piece of parchment paper directly on the surface before sealing it; this helps prevent ice crystals from forming!
Can I Add Mix-ins to the Ice Cream?
Definitely! Mix-ins like chocolate chips, crushed cookies, or extra chopped nuts can be added once the ice cream reaches a soft-serve consistency during the churning phase. Just fold them in gently to avoid breaking up the texture too much!